
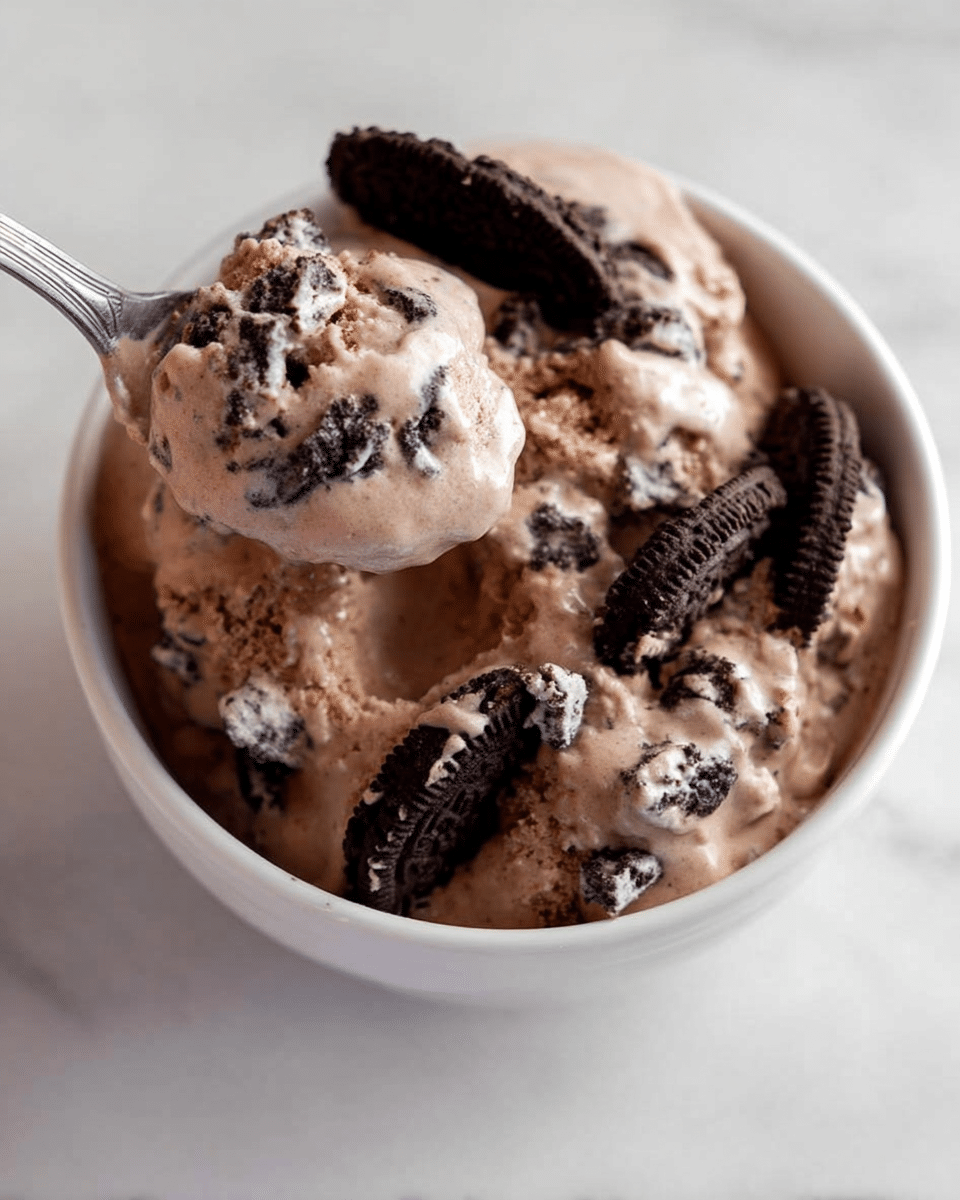
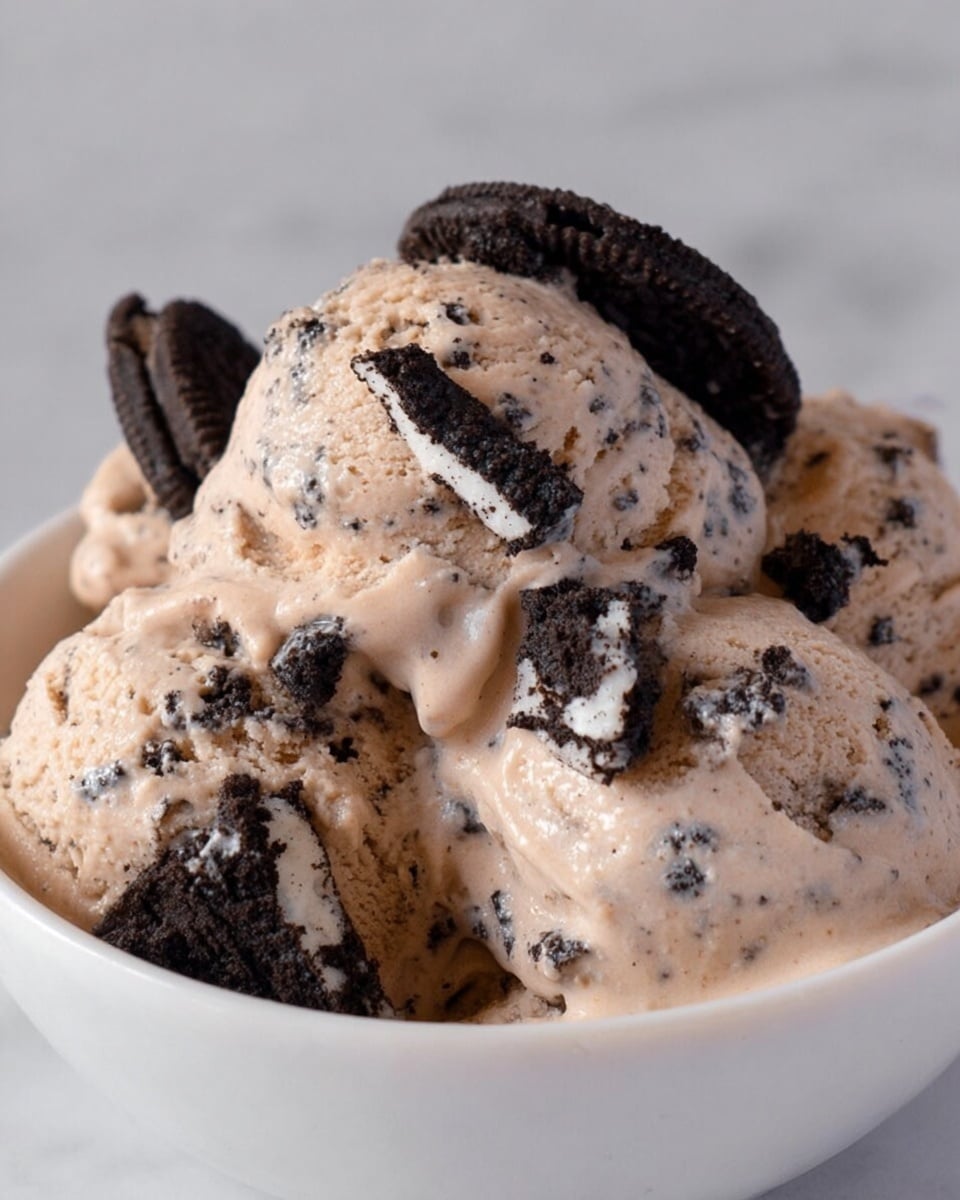
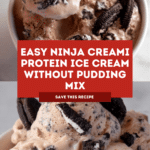
Ninja Creami Protein Ice Cream (No Pudding Mix!) Recipe
Introduction
If you’re looking for a delicious, high-protein treat without using pudding mix, this Ninja Creami Protein Ice Cream recipe is perfect for you. It’s creamy, chocolatey, and easy to customize with your favorite mix-ins. Let’s dive into how to make this guilt-free dessert at home.
Ingredients
- 285 mL 2% milk or skim milk
- 1 scoop chocolate protein powder (34g scoop)
- 1 tbsp coffee creamer of choice
- 2-3 sandwich cookies
Instructions
- Step 1: Add the milk and protein powder to the Ninja Creami container. Use an electric milk frother to thoroughly combine the ingredients, mixing for about 30 seconds.
- Step 2: Cover the container and place it in the freezer on a level surface. Freeze for at least 24 hours.
- Step 3: When ready, remove the container from the freezer and run it under hot water for 20-30 seconds, focusing on the sides and bottom.
- Step 4: Remove the lid from the frozen pint and place it into the Ninja Creami pint container. Insert the container into the Ninja Creami machine following the manufacturer’s instructions.
- Step 5: Turn the machine on and select the regular ice cream setting for the first spin.
- Step 6: After the spin, add the coffee creamer and re-spin until the texture is smooth and creamy.
- Step 7: Add the sandwich cookies or other mix-ins of your choice. Choose the mix-in setting on your machine for the final spin.
- Step 8: Serve immediately and enjoy your protein-packed ice cream!
Tips & Variations
- Swap the coffee creamer for flavored almond or oat milk for a dairy-free alternative.
- Try different protein powder flavors like vanilla or peanut butter for new taste combinations.
- Add nuts, chocolate chips, or fresh fruit as mix-ins instead of cookies.
- For a thicker texture, reduce the milk slightly or add a tablespoon of Greek yogurt before freezing.
Storage
Store leftover protein ice cream in an airtight container in the freezer for up to 1 week. Let it soften at room temperature for a few minutes before serving. If it becomes too hard, re-spin it in the Ninja Creami for best texture.
How to Serve
Serve this delicious recipe with your favorite sides.
FAQs
Can I use other types of milk?
Yes, you can use any milk you prefer, including almond, soy, or oat milk. Just keep in mind that non-dairy milks may slightly change the creaminess and flavor.
Is it necessary to use the Ninja Creami machine?
This recipe is designed for the Ninja Creami to achieve the perfect ice cream texture. While you might attempt it with another ice cream maker, results may vary.
Print
Ninja Creami Protein Ice Cream (No Pudding Mix!) Recipe
- Total Time: 24 hours 10 minutes
- Yield: 1 pint (about 4 servings) 1x
- Diet: Low Fat
Description
This Ninja Creami Protein Ice Cream recipe is a quick and easy way to enjoy a creamy, high-protein frozen treat without using pudding mix. Combining milk, chocolate protein powder, and coffee creamer for richness, plus sandwich cookies for texture, this homemade ice cream is both delicious and customizable. It’s perfect for those who want a protein-packed snack or dessert made effortlessly with the Ninja Creami machine.
Ingredients
Ice Cream Base
- 285 mL 2% milk or skim milk
- 1 scoop (34g) chocolate protein powder
Mix-ins
- 1 tablespoon coffee creamer of choice
- 2–3 sandwich cookies
Instructions
- Combine the Base: Add the milk and chocolate protein powder into the Ninja Creami container. Use an electric milk frother to thoroughly blend the ingredients for about 30 seconds until well combined and smooth.
- Freeze the Mixture: Cover the container securely, then place it on a level surface in the freezer. Freeze for at least 24 hours to ensure it is completely solidified before processing.
- Prepare for Processing: When ready, remove the frozen container from the freezer and run it under hot water for 20-30 seconds, focusing on the sides and bottom to help loosen the ice cream for easier spinning.
- Load the Ninja Creami: Remove the lid from the frozen pint and insert the pint container into the Ninja Creami machine according to the manufacturer’s setup instructions.
- First Spin: Turn on the Ninja Creami and select the ‘regular ice cream’ setting for the initial spin. This starts transforming the frozen mixture into ice cream.
- Add Creamer and Re-Spin: After the first spin, add the tablespoon of coffee creamer into the ice cream base. Re-spin as many times as needed until you reach your desired creamy texture.
- Add Mix-Ins: Once the texture is perfect, add the sandwich cookies (or any other preferred mix-ins). Choose the ‘mix-in’ setting for the final spin to evenly distribute the chunks throughout the ice cream.
- Serve and Enjoy: Remove the pint from the machine and serve the freshly made protein-packed ice cream immediately for a delicious frozen treat.
Notes
- Use skim milk for a lighter, lower-fat version or 2% milk for creamier texture.
- You can substitute chocolate protein powder with your favorite flavor to customize the taste.
- Any coffee creamer flavor can be used to enhance creaminess and flavor complexity.
- Mix-ins can be varied—try nuts, chocolate chips, or fruit pieces as alternatives.
- Ensure the mixture is fully frozen for the best consistency—it requires at least 24 hours in the freezer.
- Running the container under hot water before processing helps prevent the machine from jamming.
- Prep Time: 10 minutes
- Cook Time: 0 minutes
- Category: Dessert
- Method: Blending
- Cuisine: American
Keywords: Ninja Creami, protein ice cream, chocolate protein powder, low fat dessert, homemade ice cream, high protein dessert


